
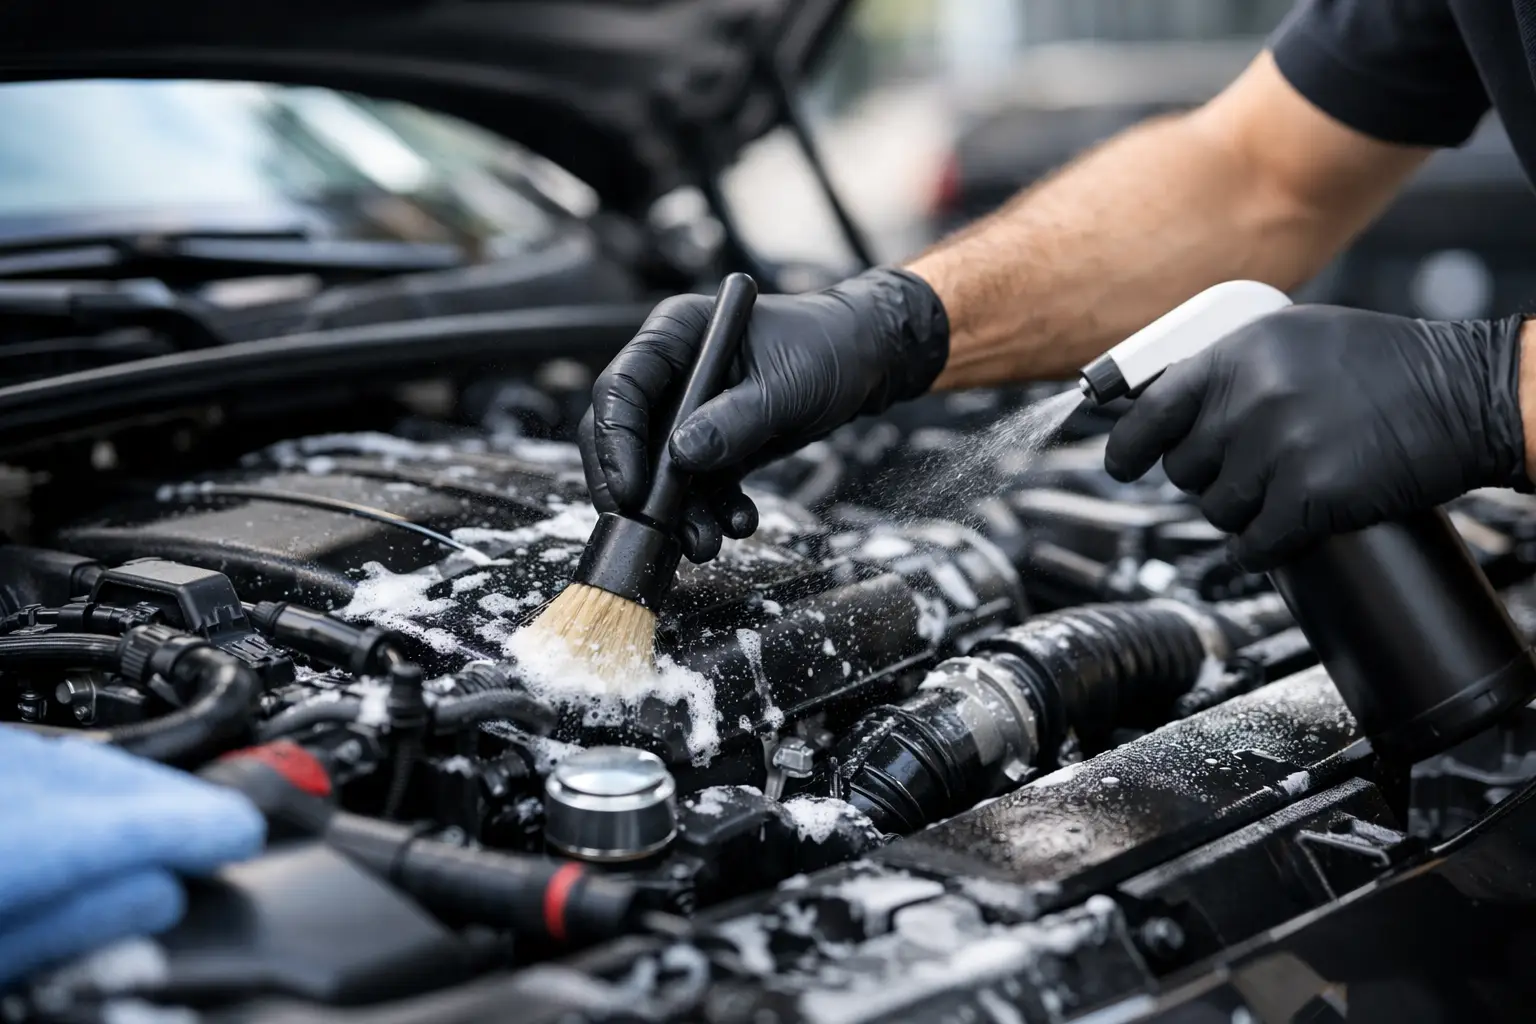
A clean engine bay changes the entire impression of a vehicle. It makes routine checks easier, supports a well-maintained appearance, and can help reveal fresh leaks before they become bigger repairs. But learning how to clean engine bay areas correctly matters more than simply spraying everything with a hose. Modern vehicles have exposed electronics, sensors, connectors, and materials that need controlled cleaning – not aggressive pressure or harsh chemicals.
The goal is not to make the engine look artificially glossy. A professional result is clean, dry, evenly finished, and free of residue. With the right preparation and a patient process, most vehicle owners can safely improve an engine bay at home.
Before You Clean an Engine Bay, Know the Risks
Engine bays are designed to handle rain, heat, and normal road conditions, but they are not meant to be soaked indiscriminately. High-pressure water can force its way into electrical connections, aging seals, air intake components, or damaged wiring insulation. Strong degreasers can also stain bare aluminum, discolor plastics, and strip protective dressings from rubber parts.
The condition and age of the vehicle matter. A newer daily driver with intact factory seals can usually handle a careful low-pressure rinse. An older vehicle, a classic car, an exotic vehicle, or a car with known wiring or oil-leak concerns deserves a more conservative approach. In those cases, cleaning primarily with towels, brushes, and minimal moisture is often the safer choice.
Never clean a hot engine. Allow the vehicle to cool completely, ideally for several hours after driving. Spraying water or cleaner onto hot metal can create rapid temperature changes, leave chemical staining, and make the work unnecessarily uncomfortable.
What You Need for Safe Engine Bay Cleaning
Professional engine bay cleaning depends more on product control than a long list of equipment. Gather a pH-balanced all-purpose cleaner or engine-safe degreaser, soft detailing brushes, microfiber towels, a spray bottle with water, and a low-pressure garden hose or gentle spray nozzle.
You will also want plastic bags and painter’s tape for covering sensitive areas, plus a water-based engine bay dressing for the finishing stage. Avoid solvent-heavy tire shine or greasy aerosol products. They can leave an unnatural wet look, attract dust, and create residue on belts or painted surfaces.
For heavier grime, use a dedicated degreaser only where it is needed. Applying strong cleaner across every surface is rarely necessary and increases the chance of staining. Start with the mildest effective product and repeat a controlled cleaning pass if needed.
How to Clean Engine Bay Areas Step by Step
Start with a visual inspection
Open the hood and look for anything that should be addressed before cleaning. Check for loose battery terminals, cracked hoses, exposed wire insulation, fluid leaks, and missing caps. Cleaning will not cause a mechanical issue, but water and chemical exposure can worsen an existing problem.
Remove leaves, twigs, and loose debris by hand or with a soft brush. Pay attention to the cowl area at the base of the windshield, hood hinges, corners of the engine compartment, and around the battery. Dry debris becomes muddy when wet, making the job more difficult.
If the engine bay has heavy oil buildup, identify the source before focusing on appearance. A clean engine bay is valuable partly because it makes future leaks visible. Covering an active leak with dressing only delays the repair.
Protect vulnerable components
With the engine cool and off, cover the alternator, exposed fuse box openings, aftermarket electrical accessories, and visible air intake openings. A plastic bag lightly secured with painter’s tape is generally enough. Do not seal the entire engine bay or wrap components tightly. The goal is to prevent direct overspray, not create a moisture trap.
Many modern engine bays have sealed connectors and protective covers, but caution is still the right approach. If you are unsure whether a component is safe around water, treat it as though it is not. Use a damp microfiber towel and brush instead of rinsing that area.
Apply cleaner with control
Mist your all-purpose cleaner or diluted degreaser onto dirty surfaces in small sections. Focus on painted metal, plastic covers, the underside of the hood, rubber hoses, and areas where dust has mixed with oily film. Avoid saturating electrical connectors and do not spray directly into vents, open housings, or the alternator.
Let the cleaner dwell briefly according to its directions, but do not allow it to dry. Chicago-area summers can be warm enough for products to dry quickly under an open hood, while winter road salt can make grime more stubborn. Work one section at a time when conditions are hot or windy.
Use soft brushes to gently agitate textured plastics, crevices, hood hinges, and around caps. The purpose is to lift contamination, not scrub aggressively. A soft microfiber towel works well for smoother painted surfaces and plastic engine covers.
Rinse lightly or wipe clean
This is the step where restraint delivers better results. Use a gentle, wide spray pattern to rinse loosened cleaner and grime from the top down. Keep the nozzle at a distance and never use a pressure washer in the engine bay. A strong stream can drive water into places it does not belong.
For a lightly soiled vehicle, you may not need a full rinse at all. Wipe each cleaned section with a damp microfiber towel, then follow with a dry towel. This low-moisture method takes longer, but it is an excellent option for luxury vehicles, older vehicles, and engine bays with sensitive aftermarket equipment.
Inspect tight areas after rinsing. If cleaner or residue remains around caps, seams, or plastic trim, remove it with a damp towel. Leaving degreaser behind can cause streaking and may dry out rubber or plastic over time.
Dry thoroughly before dressing
Drying is not an optional final touch. Use clean microfiber towels to absorb standing water from painted surfaces, plastic covers, hoses, and accessible crevices. Compressed air or a blower can help move water from around badges, fasteners, hood hinges, and wiring channels, provided it is used carefully.
Once the visible moisture is removed, allow the engine bay to air dry with the hood open. Remove the protective bags only after the surrounding area is dry. Then start the vehicle and let it idle for a few minutes. Listen for normal operation and confirm there are no warning lights. A brief odor from remaining moisture warming off may occur, but persistent smoke, rough running, or electrical warnings should be addressed immediately.
Finish for a Clean, Factory-Correct Appearance
An engine bay dressing should restore an even, clean appearance without making every surface look wet. Use a water-based dressing sparingly on faded plastic covers, rubber hoses, and non-moving trim. Apply it to an applicator or microfiber towel first rather than spraying it broadly across the bay.
Keep dressing away from belts, pulleys, alternators, exhaust components, fluid reservoirs, and electrical connections. Wipe away excess product after a few minutes. The best finish is satin, dry to the touch, and close to the vehicle’s original factory appearance.
For vehicles being prepared for sale, an engine bay cleaning can improve buyer confidence because it signals care and makes inspection easier. Still, it should never be used to conceal leaks, corrosion, or mechanical concerns. Honest presentation protects both the seller and the vehicle’s value.
Common Engine Bay Cleaning Mistakes to Avoid
The biggest mistake is reaching for a pressure washer because it feels faster. Engine bays reward precision, not force. Another common error is cleaning immediately after a drive, when heat can damage finishes and cause cleaners to dry too quickly.
Avoid using household degreasers, bleach-based cleaners, and silicone-heavy shine products. They are not formulated for the mix of painted metal, rubber, plastic, and electrical components found under the hood. Also, do not skip drying. Water left in hidden areas is far more likely to cause trouble than a lightly dusty engine bay.
If your vehicle has a substantial oil leak, damaged insulation, exposed wiring, performance modifications, or an exceptionally dirty engine compartment, professional service is often the smarter investment. The process can be tailored to the vehicle instead of treating every engine bay the same way.
A properly cleaned engine bay should look cared for, not overdone. For drivers who want showroom-level results without the risk of water intrusion, Elite Luxe Auto Detailing can provide a controlled, detail-focused finish that complements the rest of the vehicle’s appearance.
