
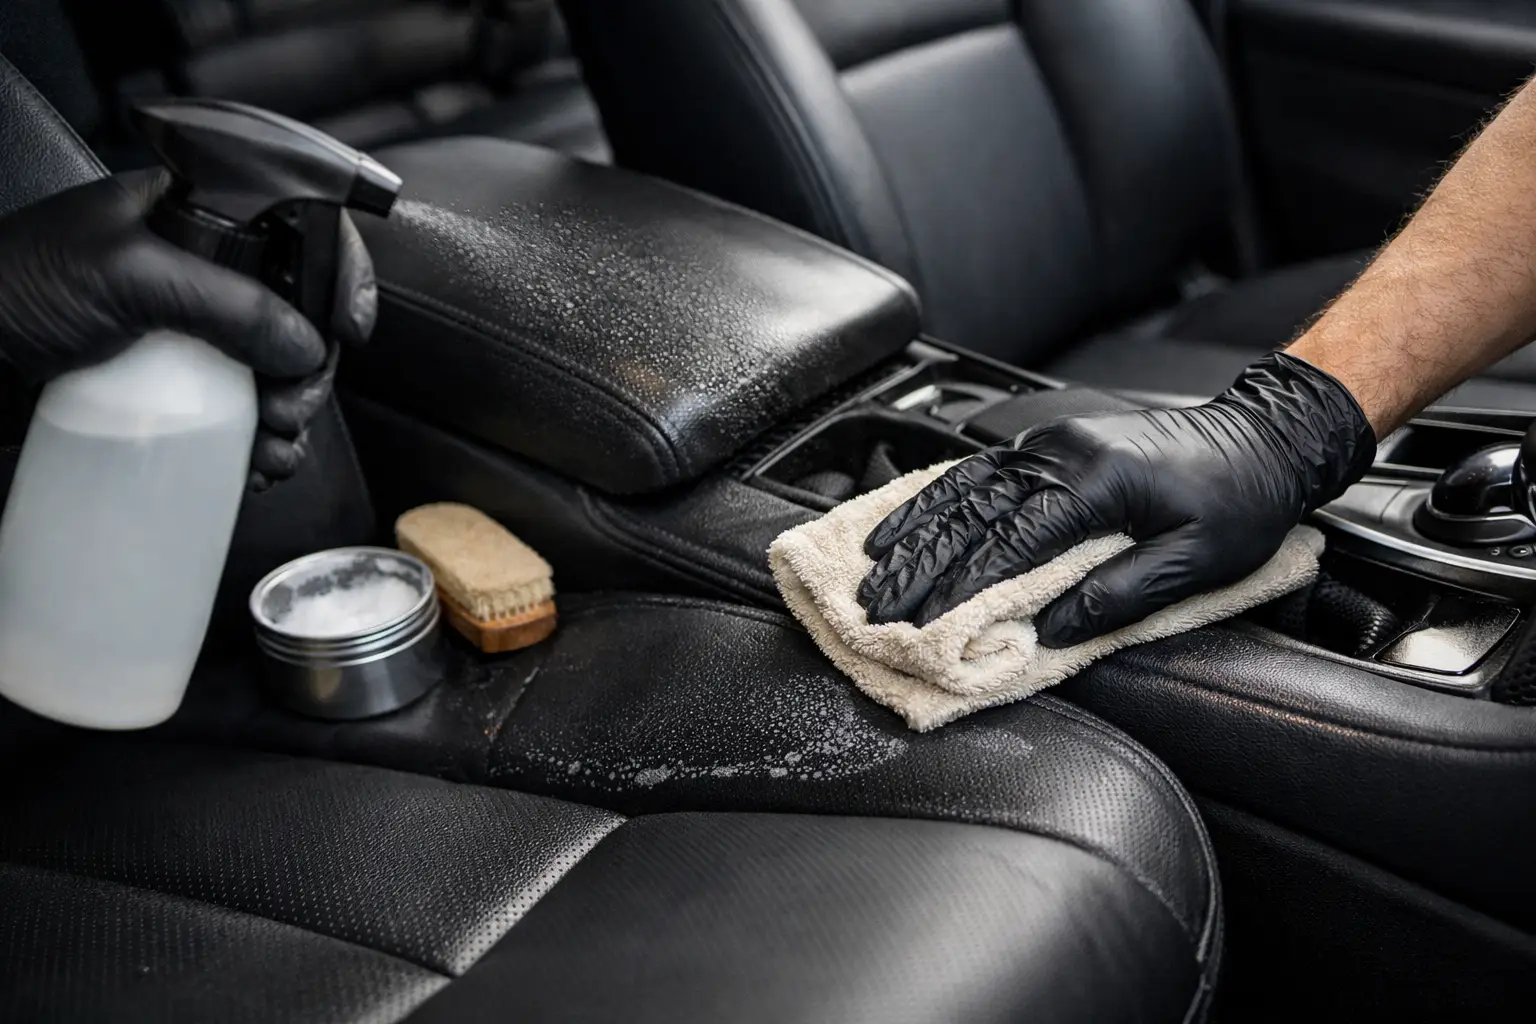
Leather seats rarely look dirty all at once. The change is gradual: a darkened driver’s bolster, a shiny steering-side seat cushion, faint denim transfer, or dry creasing where you slide in and out. Knowing how to deep clean leather car seats correctly helps remove that buildup without stripping the protected finish that keeps modern automotive leather comfortable, supple, and easy to maintain.
A proper leather cleaning is not about soaking the seats or scrubbing until they squeak. It is a controlled process that lifts body oils, sunscreen, dust, spills, and grime from the surface, then restores a clean, low-sheen finish. Done well, it improves the look of the interior while helping prevent premature wear in high-contact areas.
Start by Knowing What You Are Cleaning
Most leather found in late-model vehicles is coated leather. It has a protective top layer that gives it consistent color, stain resistance, and a subtle factory sheen. The dirt you see is often sitting on that coating, which is good news: careful cleaning can make a major difference without aggressive products.
Some luxury, classic, and exotic vehicles use more delicate semi-aniline or aniline leather. These materials can absorb moisture and color more readily. If your owner’s manual identifies specialty leather, or if the material has an unusually natural, soft feel with visible variations, use extra restraint. A professional inspection is the safer choice when you are unsure.
Before applying any product, vacuum the entire interior. Use a soft brush attachment around seat seams, perforations, stitching, seat controls, and the gap between the seat bottom and backrest. Loose grit becomes abrasive when mixed with cleaner, so this first step protects the surface from unnecessary scuffing.
Gather the Right Leather-Safe Supplies
For most vehicles, you need a pH-balanced automotive leather cleaner, a soft detailing brush, several clean microfiber towels, and a quality leather protectant or conditioner formulated for coated automotive leather. A small soft brush is especially useful for textured leather and perforated seating, where oils and dirt settle into tiny openings.
Avoid household all-purpose cleaners, dish soap, glass cleaner, disinfecting wipes, bleach, and products with heavy silicone. They can leave the leather overly shiny, dry out the protective coating, or create a slick surface that attracts more dust. Steam is also a poor choice for most DIY leather work. Heat and moisture can be useful in trained hands, but excessive steam around seams, perforations, heated-seat components, or delicate leather creates more risk than reward.
Always test your cleaner in a hidden area first, such as the lower rear edge of a seat. Look for color transfer on the towel, staining, or a change in sheen. A proper leather cleaner should not dramatically alter the surface when used as directed.
How to Deep Clean Leather Car Seats Step by Step
Work one section at a time. The driver’s seat cushion and outer bolster deserve the most attention, but smaller sections give you better control and prevent cleaner from drying before you wipe it away.
Apply Cleaner Sparingly
Spray the leather cleaner onto a microfiber towel or brush rather than saturating the seat. This is especially important on perforated leather, where excess liquid can move below the surface. The goal is to lightly lubricate the area and loosen contamination, not to wet the foam beneath it.
For smooth leather, begin with the microfiber towel and gentle, overlapping passes. For textured grain, use a soft brush with light pressure. Move the brush in short motions rather than aggressive circles. You may see foam turn gray or brown as it lifts oils from the coating.
Clean Seams, Bolsters, and Perforations Carefully
Seat seams and outer bolsters carry much of the wear because they are touched and compressed every time you enter the vehicle. Use the brush lightly along stitching, then immediately wipe the area with a clean microfiber towel. Do not allow product to pool in seams.
On perforated leather, use minimal cleaner and brush softly across the surface. Never force bristles into the holes, and do not flood them with spray. If a spill has traveled through perforations or there is a persistent odor, surface cleaning alone may not solve the problem. That situation often calls for professional interior detailing and targeted odor treatment.
Wipe Away Residue and Inspect the Finish
After cleaning each section, wipe it thoroughly with a fresh, dry microfiber towel. The leather should look clean and natural, not wet, greasy, or glossy. Compare the finished section with an untouched area. On a well-used driver’s seat, the difference can be immediate: less shine, more even color, and a cleaner matte-to-satin appearance.
If the seat still looks dark in one area, repeat the process once with patience. Multiple gentle passes are safer than one aggressive scrub. Permanent dye transfer, worn color, cracking, and clear-coat failure will not disappear with cleaning, and pushing harder can make those issues more visible.
Treat Common Leather Seat Problems the Right Way
Body oils, hand lotion, sunscreen, and hair products create the familiar dark shine on steering-side bolsters and armrests. A quality leather cleaner and soft brush usually remove this buildup effectively. The key is to clean the actual surface texture, then fully wipe away residue.
Fresh food or drink spills should be blotted first, never rubbed deeper into the leather. After blotting, use a lightly damp microfiber towel followed by leather cleaner if needed. Sticky residue may require a few controlled passes.
Denim transfer is different. It can look like dirt, but it may be dye that has migrated into the protective layer. Start with a gentle leather cleaner. If the blue or black discoloration remains, do not escalate to harsh solvents or abrasive pads. Professional-grade leather repair products may be needed, particularly on light beige, white, or cream interiors.
Cracks and worn areas require realistic expectations. Cleaning can remove grime from creases and make the damage less distracting, but it cannot restore missing pigment or a failed topcoat. For high-end interiors, professional repair before applying protection is usually the better investment.
Condition or Protect After Cleaning
Once the leather is fully dry, apply a thin layer of a leather protectant or conditioner suited to automotive leather. With modern coated leather, protection is often more valuable than heavy conditioning. The product should help resist future oil, UV exposure, and dye transfer without making the seats slippery or overly glossy.
Apply a small amount to a clean applicator or microfiber towel, spread it evenly, and allow it to cure according to the product instructions. Then buff lightly with a dry towel. The correct result is a refined, factory-like finish, not the wet shine associated with inexpensive dressing products.
If your vehicle is parked outdoors regularly in Arlington Heights or throughout the Chicagoland suburbs, UV protection matters. Summer heat can accelerate drying and fading, while winter salt, wet clothing, and frequent temperature changes add contamination to the interior. A protected leather surface is easier to clean during the next maintenance visit.
How Often Should Leather Seats Be Deep Cleaned?
For a regularly used daily driver, deep cleaning leather seats every three to six months is usually appropriate. Vehicles with children, pets, frequent passengers, light-colored interiors, or long commutes may benefit from more frequent attention. In between deep cleans, wipe spills promptly and use a dry microfiber towel to remove dust and fresh surface oils.
More cleaning is not always better. Leather should be maintained, not constantly saturated with product. If the seats are protected and cleaned gently, you can preserve their appearance with simple upkeep rather than repeated intensive scrubbing.
When Professional Leather Detailing Makes Sense
A professional service is worth considering when seats have heavy soil, embedded odor, dye transfer, pet contamination, smoke residue, discoloration, or visible wear. It is also a practical choice when the interior includes perforated leather, suede-like inserts, specialty leather, or complicated seat ventilation and heating systems.
Elite Luxe Auto Detailing approaches leather care as part of a complete interior restoration process, with attention to the materials, high-touch areas, and final finish. For busy owners, professional detailing also removes the guesswork of choosing products and finding time for a careful multi-step clean.
Clean leather should feel like part of the car, not like a freshly dressed surface. Keep the finish natural, protect it from what daily driving leaves behind, and address stains before they have a chance to become permanent reminders of the commute.
