A ceramic coating can add striking gloss, easier maintenance, and long-term protection, but it does not hide what is already in the paint. Knowing how to prepare car for ceramic coating is what separates a finish that looks refined for years from one that locks in swirl marks, water spots, and contamination beneath a hard layer of protection.
For a daily driver, luxury SUV, or weekend performance car, preparation should be treated as the main event. The coating is the final protective layer. The wash, decontamination, paint correction, and panel preparation beneath it determine how clear, smooth, and durable the finished result will be.
Start With an Honest Paint Inspection
Before washing the vehicle, inspect it in direct sunlight and under focused LED lighting. Look beyond obvious dirt. Fine circular scratches, etched water spots, road film, industrial fallout, tree sap, and embedded brake dust can all affect the appearance and bond of a ceramic coating.
This inspection also helps set realistic expectations. A newer vehicle may still have dealership wash marks, rail dust from transport, or adhesive residue around badges and trim. An older vehicle may need more extensive correction to remove oxidation, deeper scratches, and dullness. Ceramic coating is excellent protection, but it cannot level defects that are still present in the clear coat.
A professional detailer will also check paint thickness when correction is needed. That matters because paint correction removes a very small amount of clear coat to improve clarity. The goal is not to chase every deep scratch at the expense of the paint’s long-term health. It is to achieve the best safe result for the vehicle.
Wash Without Adding More Defects
The first wash should remove loose grit safely, not simply make the car look cleaner. Start with a thorough rinse, including wheel wells, lower rocker panels, grilles, badges, and panel gaps where road debris collects. A pre-wash foam or quality pH-balanced cleaner helps soften traffic film before contact washing begins.
Use clean wash media and the two-bucket method, or a similar safe wash process, to reduce the chance of dragging abrasive dirt across the paint. Work from the upper panels down, saving the lower doors, bumpers, and rear of the vehicle for last. These areas typically carry the heaviest contamination.
Wheels and tires need separate brushes, towels, and buckets. Brake dust and road grime are highly abrasive, and using wheel tools on painted panels is an easy way to create scratches. Clean the wheel barrels, calipers, tire sidewalls, and wheel faces thoroughly because a coated vehicle deserves a complete finish, not just glossy paint.
After washing, dry with clean premium microfiber towels and filtered or forced air where possible. Blower drying is especially useful around mirrors, emblems, door handles, fuel doors, and trim, where trapped water can run out later and interfere with the coating process.
Remove What Washing Cannot
A car can look clean and still feel rough to the touch. That roughness is usually bonded contamination that a normal wash cannot remove. Preparing the surface correctly requires chemical and mechanical decontamination.
An iron remover targets embedded ferrous particles from brake dust, rail transport, and industrial fallout. These particles can lodge in the clear coat and eventually contribute to staining or corrosion. A tar remover can address road tar, adhesive residue, and stubborn petroleum-based contamination, particularly on lower panels.
After chemical decontamination, the paint may need a clay bar or synthetic clay mitt treatment with plenty of lubrication. This step removes remaining bonded particles and leaves the surface smooth enough for polishing. Clay is effective, but it must be used carefully. Aggressive clay or poor lubrication can create marring, which then requires additional polishing.
The same principle applies to glass. Ceramic coating prep is not limited to paint if glass protection is part of the service. Road film, mineral deposits, and old residues should be removed so the glass coating can bond evenly and improve wet-weather visibility.
How to Prepare Car for Ceramic Coating With Paint Correction
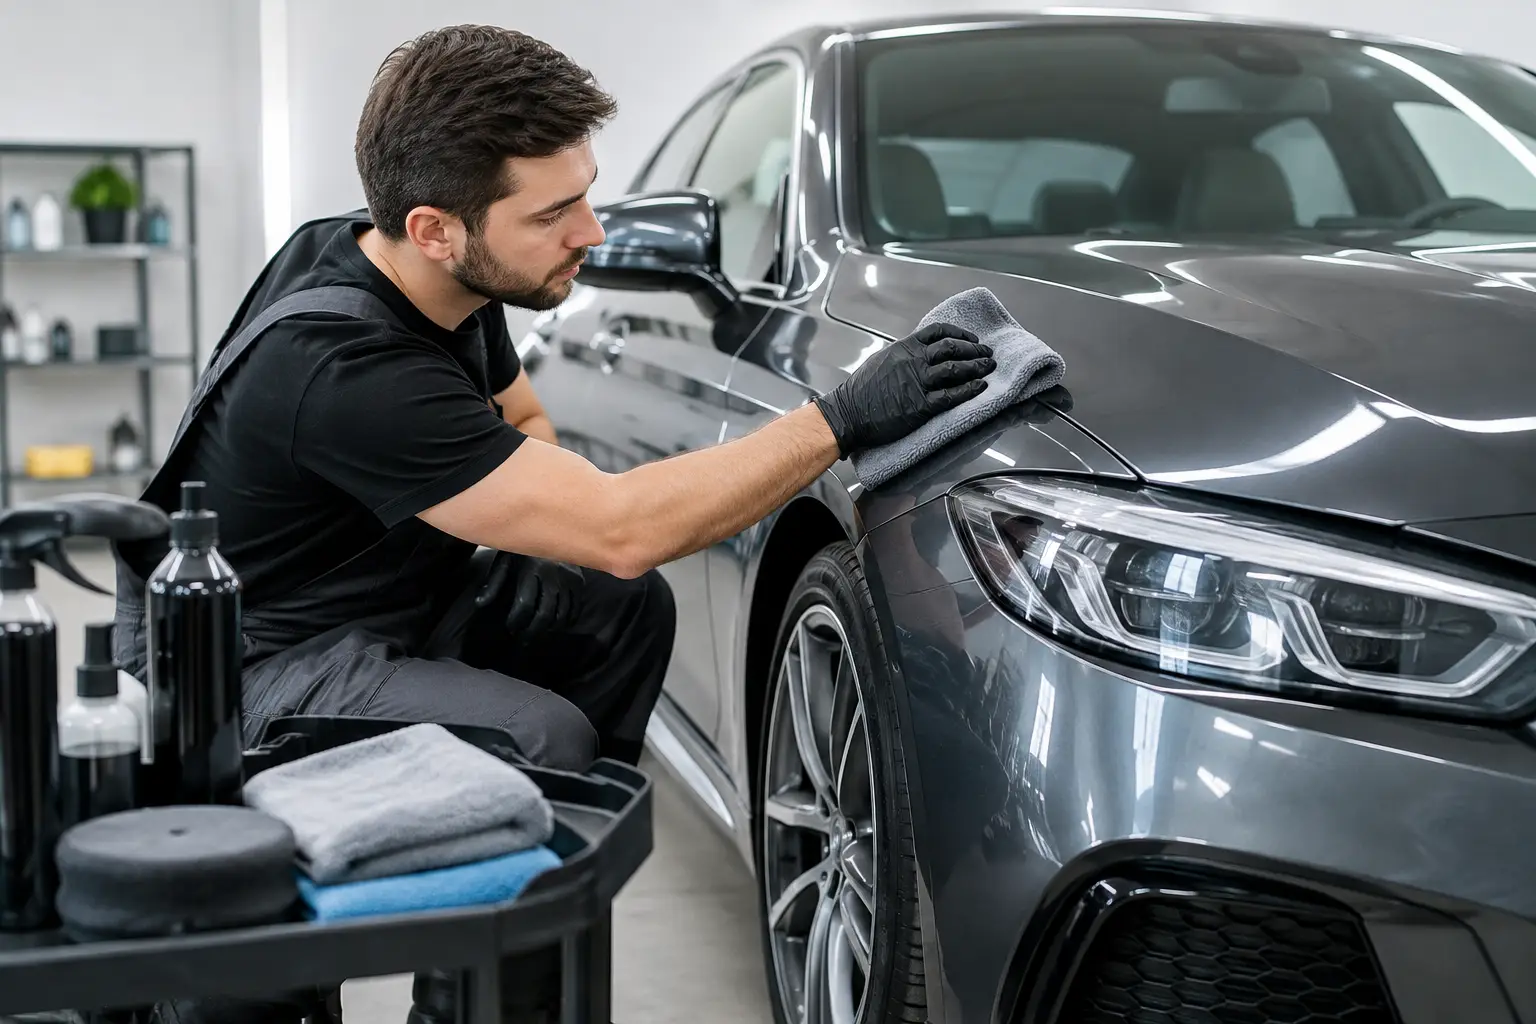
Paint correction is where the visual transformation happens. Polishing removes or reduces defects in the clear coat, improving gloss, depth, and reflection before the coating preserves that improved finish.
One-step polishing is often a smart option for newer vehicles or well-kept daily drivers with mild swirl marks and light haze. It can produce a noticeable clarity improvement while keeping labor and cost in check. Multi-step correction is better suited to vehicles with more significant wash damage, deeper defects, oxidation, or a finish where maximum gloss is the priority.
Not every scratch should be removed. If a scratch catches a fingernail, it may be too deep to safely level completely. In that case, a professional may reduce its appearance rather than remove excessive clear coat. This is one of the most valuable parts of expert preparation: balancing appearance goals with preservation of the factory finish.
Polishing also requires attention to paint type. Some clear coats are soft and correct quickly but can mar easily. Others are hard and durable but require more time and specialized combinations of pads and compounds. Plastic trim, edges, body lines, and sensitive areas need protection throughout the process.
Once correction is complete, inspect the paint again under multiple light sources. A vehicle can look impressive in a dim garage but reveal holograms, missed scratches, or residue in sunlight. Premium results depend on checking the finish before moving forward, not after the coating has cured.
Strip Oils and Residue Before Application
Polishing oils, fillers, dust, and fingerprints can interfere with ceramic coating adhesion. The paint must be thoroughly cleaned after correction with a panel-prep solution designed to remove those residues without leaving its own protection behind.
This step is often underestimated because the paint already looks clean. But appearance and coating readiness are different things. A surface can look glossy while carrying oils that prevent the coating from bonding uniformly. Wipe down each panel carefully with fresh microfiber towels, including edges, around emblems, and near trim.
Avoid applying wax, sealant, spray detailer, or tire dressing near the paint during this stage. These products can transfer onto the surface and compromise the coating. If the vehicle has recently received a wax or sealant, it must be removed during the wash, decontamination, and polishing process before coating begins.
Control the Application Environment
Ceramic coatings perform best in a controlled indoor environment. Temperature, humidity, dust, and lighting all affect the installation. A coating applied outdoors or in a windy driveway can collect airborne debris before it cures. Direct sun can make the product flash too quickly, creating high spots or uneven coverage.
Ideally, the vehicle should be cool, dry, and indoors before application. The workspace should have enough lighting to inspect every panel from several angles. Coatings are applied in small sections, leveled at the proper time, and checked immediately for high spots. These appear as darker, streaky patches and can require polishing to remove once cured.
The vehicle also needs time to remain dry after application. Cure time varies by coating, weather conditions, and manufacturer instructions, but exposure to rain, sprinklers, or washing too soon can affect the initial cure. This is one reason studio application is often the best choice for ceramic coating, especially during unpredictable Chicago-area weather.
Do Not Forget the Details Around the Paint
The best ceramic coating preparation includes the areas people notice up close. Door jambs should be cleaned. Exterior trim should be free of old wax residue. Exhaust tips, badges, glass, wheel faces, and painted mirror caps all deserve attention when included in the selected protection package.
Interior work is separate from coating preparation, but it is a practical time to refresh the entire vehicle. A properly detailed interior, clean glass, dressed tires, and corrected paint create the complete showroom-level presentation most owners expect after investing in ceramic protection.
After the coating is installed, maintenance matters. Use pH-balanced wash products, clean microfiber towels, and proper wash techniques. Avoid automatic brushes, harsh degreasers, and abrasive polishing unless a professional recommends them. Ceramic coating makes the vehicle easier to maintain, but it does not make it maintenance-free.
When preparation is handled with patience and precision, ceramic coating becomes more than a glossy finish. It becomes a durable layer of protection over paint that has been properly cleaned, refined, and preserved – a difference you can see every time the vehicle is washed.
